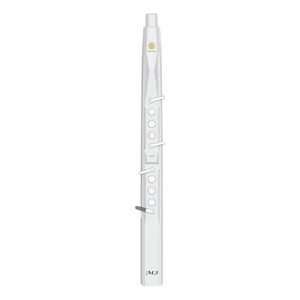
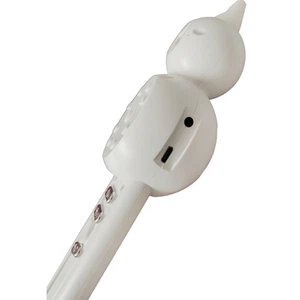
While it's possible to produce music using only a mouse to program MIDI data in your DAW's built-in MIDI editor, incorporating MIDI controllers can significantly enhance your workflow by providing hands-on control. To use a MIDI controller effectively you need to connect it to a computer and configure it with your DAW:
- Connection: Connect your MIDI controller to your computer using either a USB cable or MIDI cables, depending on your controller's connectivity options.
- DAW Configuration: Navigate to the MIDI setup or preferences section of your DAW. Here, you can configure your MIDI controller to communicate with the DAW. Select your MIDI controller from the list of available MIDI devices.
- Input and Output Routing: Specify the MIDI input and output ports for your MIDI controller in the DAW settings. This ensures bidirectional communication between your MIDI controller and the DAW.
Once connected, you MIDI controller can communicate with your DAW, giving you control over:
- Transport Controls: MIDI enables you to start, stop, rewind, and fast-forward your DAW's playback with the touch of a button on your MIDI controller. This hands-on control simplifies the recording and editing process, allowing you to focus on your music rather than constantly reaching for your computer's mouse or keyboard.
- Program changes: MIDI allows you to easily switch between tracks, instruments, and presets.
- Mixing and Mixing Controls: Adjusting track levels, panning, and automation becomes effortless with MIDI controllers equipped with faders, knobs, and encoders.
For a more custom approach to MIDI controllers, most DAWs allow you to map MIDI controller parameters to various software functions. This means you can customize your MIDI controller to interact with specific DAW features, plugins, and instruments. For example, you can map a rotary knob to control a plugin's filter cutoff frequency or an effect's wet/dry mix.


